

Project Info
Project Description
The original brief – a straight freestanding dry stone wall
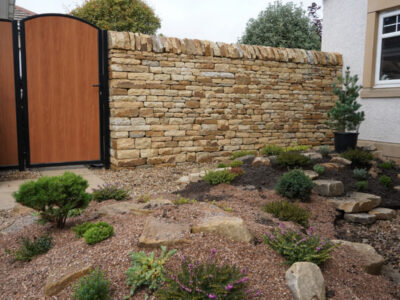
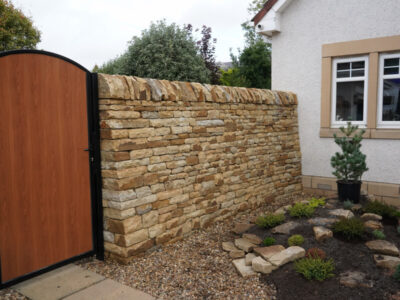
This garden dry stone wall started off as a simple 4m long by 1.6m tall freestanding dry stone wall in the front garden of this property in Cardrona in the Scottish Borders. The client’s wanted rid of the old wooden fence and gate. They wanted a new gate and a nice dry stone wall to go with it. We decided to go with Alston stone. It would look best colour-wise and for the multi-layering of this thinnish flat-bedded sandstone.
Although I priced it up in April this year, there was a delay in getting both the stone and the gate. I eventually started in July.
The first issue was with the gate when it was installed. It was 1.85m tall and not 1.6m. Building the dry stone wall to the planned original height would have looked odd. I re-calculated the price for a taller wall. At this point it was still straight.
On day 1 whilst I waited for the stone to arrive, I prepared the foundations. I raked out the soil and put down and compacted sub-base. It was at this point that I discovered a rodding eye right on the line of the straight wall. So, it was time for re-calculation number two – a gently curved wall replaced the straight wall to avoid building over the drain access point.
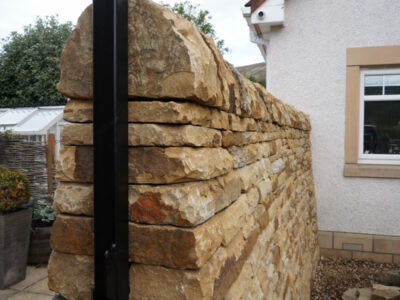
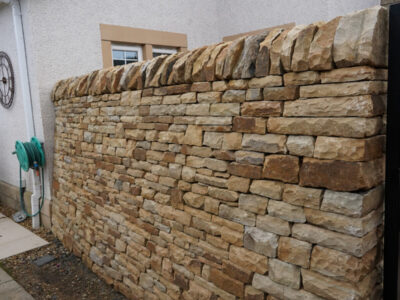
The built wall – a curved freestanding drystone wall!
After making two major changes, waiting for gates and stone to arrive, I got started building in July. I used 10 1/2 tonnes of Alston stone make the walls. With the increase in height, the base width also increased. And then the wall started eating the stone. With 20+ layers of stone required to build up to the copes height, there was a lot of work in this one. It was also slowed down by building the curve by eye. I set out the foundation and laid the stones for this. After that there was a lot of measuring as I built each course. The width remained a constant for each jump in course height. As long as I kept this measurement correct, and checked the batter, the wall went up, albeit slowly. After it got over 1.4m tall, I had to use a portable step to place the stone. I’m not the tallest and in order to see into the wall, I had to steps up, place the stone, make my checks and repeat. It was all very time consuming!
Finally all the copes were hand dressed and laid on the wall.
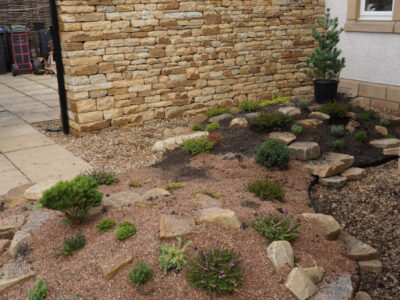
There was some leftover stone and the clients used this to build a rockery in the space in front of the wall and the house. Interestingly, this was designed by the client using AI. I’m going to write an article on the use of AI in my job. It’s something that has happened a couple of times this year – one for designing the rockery here and on three jobs to double check quantities. It’s proving very useful!